And so I bring you the first instalment of Printmaking for Beginners. I would love your opinions on whether you find it clear and explanatory and if it whets your appetite to create and well, any old thing you want to tell or ask me.
Here begins a tutorial on making a single colour lino print using the most basic equipment available and quite easypeasy jackanesaylemonsqueezy to complete without a press and other hugely expensive stub your toe on machinery.
I like to think of it as 'kitchen table printing'.
Revolutions have started with less.
Click on all images to see them better/bigger.
B- in the school report.
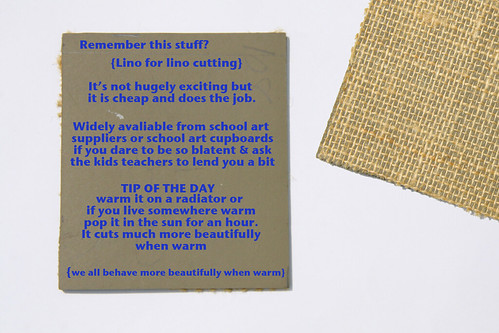
But as it's more than likely what you will start with and so I am going to use it for this tutorial.
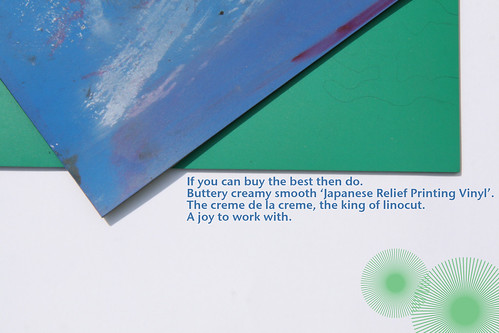
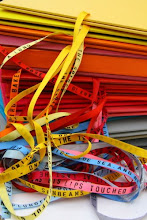
Japanese Vinyl and other gorgeousness available from various printmaking suppliers including http://www.intaglioprintmaker.com
Beware of print and art supply shops, enter with your eyes fixed only on what you require.
Preferably wear your blinkers and tear out your tongue so you can do no more than weakly purchase your requirements.
Go one step further, take only your change purse, not your plastic.
I am not responsible for your art supplies habit, now or never.
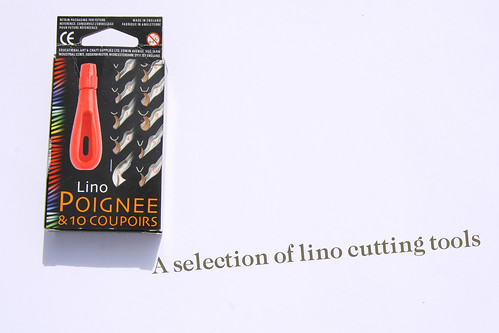
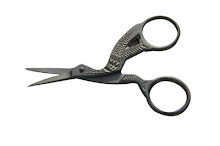
↑I highly recommend these as a beginners selection and you'll have them forever↑
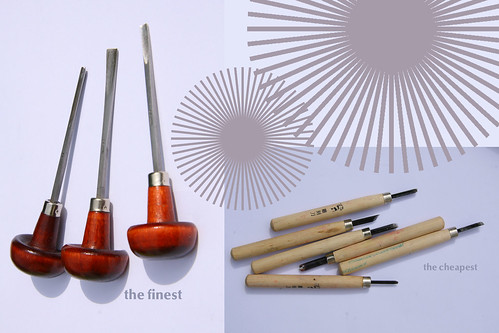

This is the very first set that I used at college. I still use them and still love the way all the blades fit into the handle. Such style and panache. I've never seen them since and I don't know who made them. They cost about £3 then.
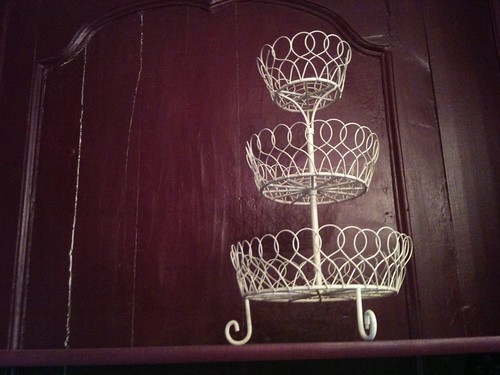
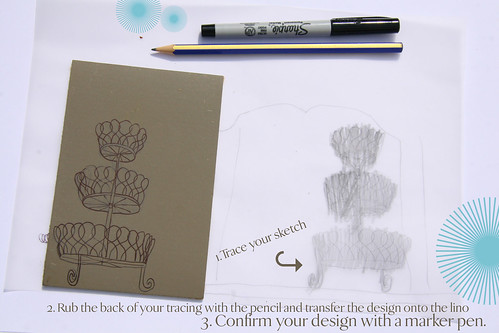
Find an image that you want to make a print of. I am working on a series of prints for a cake suppliers and cafe. I took this snap with my iPhone. It's perfect as a study image. I drew the wire cakestand on a piece of paper and then traced the drawing onto tracing paper. Then place the tracing paper, pencil side down onto your lino and rub the back of the tracing with a pencil and it will transfer onto the lino. The joy of this is that you do not have to draw onto your lino in reverse. Everything needs to go backwards onto your lino in order to print it the right way round (incase you are thinking of using text this is especially important)
A picture does indeed say a thousand words
coming soon....starting to cut.


6 comments:
Old friends indeed.....I too love your lino cutting tools, how cute :)
Years ago after recovering from a broken wrist that meant hairy arsed sculpture making was out of the question for a while, I bought one of those Dryad Hobby kits for linocutting from a boot sale for 50p. The tool and blades that came with it are still my faves to use. Finding printing ink here is a bugger, bring me some when you come over eventually x
This is great. Love it! Really clear as well. I had never heard of that Japanese stuff.
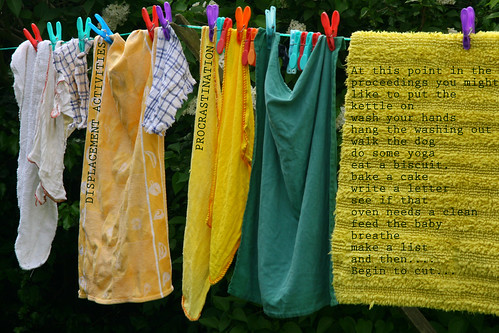
get you washing your sunny coloured dusters!
love the little tips that the books don't tell:
can't wait for the next installment:
☯
lovely post. i used to do lino cutting so much when i was a child and loved it. it's the kind of thing you need time for isn't it...that'll be another 3 years then for me. ho hum.
Yay! Thanks for this. I've made about half a dozen of my little round stamps now, from the soft lino circles I found. They're great. I just used one - printed up on lovely printmaking paper, with nice lime green ink - to embellish a journal I made for my friend's birthday (http://lizziemade.blogspot.com/2010/05/more-makes-and-few-bits-of-waffle.html). It looks pretty good.
Thanks for doing this tutorial - I'll look out for part 2.
It's very clear and nicely explained too - fun and happy and not boring! Like that!
I want some of that Japanese lino... I'm off shopping now, byeee!
Thank you for taking the time to visit my blog LouLou...I find yours truly interesting.
I'll be back again~
I hope you are having a wonderful weekend!!
Post a Comment